
Steps to frame your diamond paintings:
Look for an uncluttered area where you can start the process peacefully. Don't forget to be safe from the light pad.
Step 1:
Before setting canvas on the stretcher bar, you need to seal your diamond painting. Use a sealer to cement all of the diamonds so that they can fix to a place.
Step 2:
The next step is to take inventory. Each of the paint with the Diamonds Wooden Frame Stretcher Bar Box comes with the following: 4x Wooden Stretcher Bars, 4x "U" Nails, 4x Corner Wedges.
Step 3:
Lay your canvas out face down on a flat surface. Layout each bar along the edges of the canvas. Make sure that each of the stretcher bars is flush up against the border of the painting. Also, keep in mind that the skinny half of each bar should be facing inward.
Step 4:
Use tape or gum to secure the bars in place on the canvas.
Step 5:
Remove the double-sided tape then and curl up all sides into each other. Now, squeeze all of the four sides to impregnable the stretcher bars in place.
Step 6:
Insert the "U" nails into the pre-drilled holes on Bar. If all of the four nails are inserted, use a hammer to secure the nails to the bars.
Step 7:
Insert the Corner Wedges into the grooves on each side of the Stretcher Bar. Then use a hammer to fit the Corner Wedges into the place.
Diamond painting is assuredly a fun-loving hobby. It melts your stress and keeps you busy with it. From the moment you start to every moment you view the display, it is just a flawless piece of art one can get relaxation from. Diamond painting is the convenient option to decorate your home. If you have not bought the diamond art kit yet, go for it and get yourself entered into the new world of crafting. Also, look for the easiest ways to frame your diamond paintings.
Creative Diamond Painting Display Ideas:
Once you've successfully framed your diamond painting, the question arises – where and how to showcase these intricate works of art? Let's explore the five most popular and practical ideas on where to hang your diamond paintings, turning your home into a gallery of brilliance.
- Feature Wall in the Living Room: Hang a sizable diamond painting on a prominent wall in your living room. This central location allows it to become a captivating focal point for both residents and guests.
- Bedroom Accent Above the Headboard: Place a diamond painting above the headboard in your bedroom. This not only adds visual interest but also creates a soothing and personalized ambiance in the room.
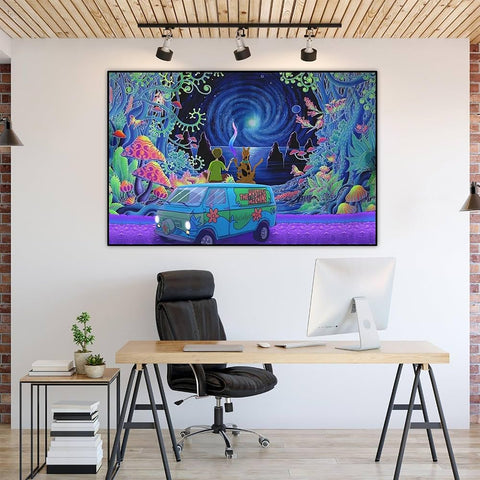
- Office or Study Inspiration: Hang smaller diamond paintings in your home office or study area. Position them within your line of sight to provide bursts of creativity and motivation during work or study sessions.
- Gallery Arrangement in the Hallway: Create a gallery-style arrangement of diamond paintings along a hallway. This transforms a typically overlooked space into an eye-catching and dynamic art display.
- Decorate the Dining Area: Adorn the dining room with a diamond painting, ideally centered on a wall where it can be enjoyed during meals. Choose a design that complements the dining space and enhances the overall aesthetic.
Incorporating diamond paintings into your living spaces not only adds aesthetic appeal but also imbues each room with a touch of your personality and artistic flair. From the living room's focal point to the intimate ambiance of your bedroom, these ideas provide versatile options for transforming your home into a haven of sparkling creativity. So, pick your favorite spot, let your diamonds shine, and witness the magic of turning your living space into an artful sanctuary.