Diamond painting looks simple, yet there is a lot to know before you start your first canvas. This guide is for beginners and returning crafters who want quick, accurate answers. Below are 60 facts about kits, drills, tools, sealing, framing and custom orders, each short enough to scan. Use them to pick the right kit and avoid the usual mistakes.
Every kit ships free worldwide with a velvet canvas, AB drills and all the tools.
Shop diamond painting kitsThe basics
- It mixes crafts. Diamond painting combines paint by numbers, cross-stitch and mosaic work.
- It has many names. You will also see diamond art, 5D diamond painting, painting with diamonds and rhinestone painting.
- A kit has everything you need. Ours include a canvas, pre-sorted drills with spares, 2 trays, tweezers, 2 pens, a 3-piece multi-placer, 2 pots of wax and instructions.
- It is pick and stick. You pick a drill with a wax-tipped pen and press it onto the sticky canvas.
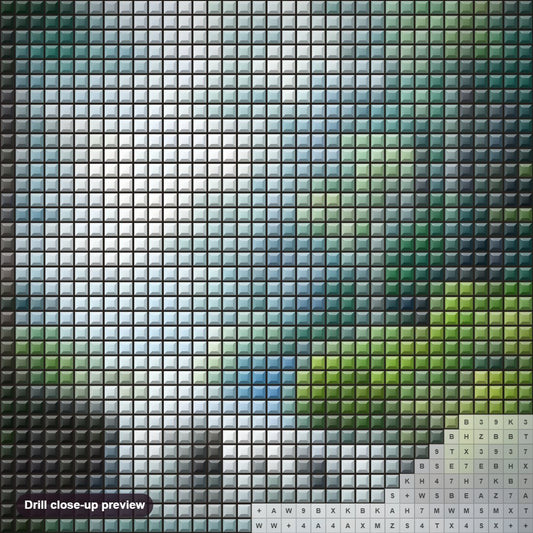
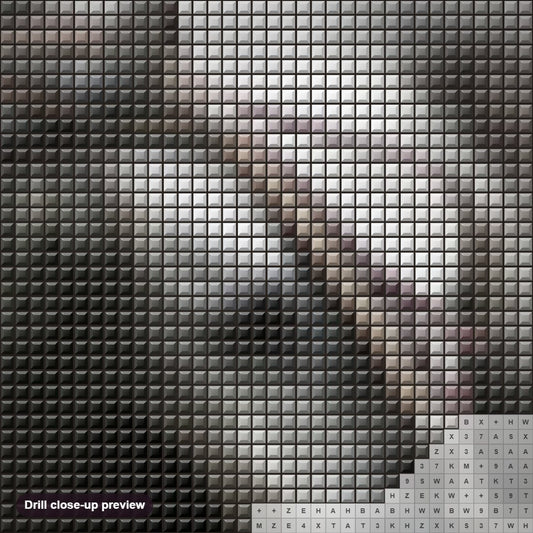
- Symbols guide you. The canvas has printed symbols, and a legend shows which symbol matches which drill color.
- No skill is needed. If you can match a symbol and press down a drill, you can finish a painting.
- Velvet canvas stays flatter. Our kits use a soft velvet canvas that resists creases.
- Poured glue is easier. Poured glue under a clear film is simpler to work with than a tape-based canvas, which wrinkles more easily.
- It is a relaxing hobby. Many crafters enjoy it as a calm, screen-free activity.
- It suits many ages. Small canvases work well for children with an adult nearby, while large detailed canvases suit experienced crafters.

Drills and shapes
- Drills are resin. Our drills are acrylic resin and about 2.5 mm across.
- Full drill covers everything. Every part of the canvas is filled, giving a complete mosaic look.
- Partial drill highlights objects. Only part of the design is filled, so some canvas stays visible.
- Special drills come in other shapes. Teardrops, ovals and similar shapes are used for accents.
- 5D means more facets. 5D drills catch more light than 3D drills and look shinier.
- AB stands for Aurora Borealis. The coating gives drills a rainbow-like shimmer.
- Every kit includes AB drills. Ours come with at least 2 colors of AB drills.
- Square drills sit flush. They leave no gaps and give a crisp mosaic with sharp detail.
- Round drills leave small gaps. They are quicker to place, easier to handle and add extra sparkle.
- Most designs offer both shapes. Choose square or round on the product page.
- Colors follow the DMC system. Most makers label drills with DMC numbers or symbols, so spare colors are easy to match.
- Drill count adds up fast. A canvas has about 16 drills per square cm, so a 30 x 40 cm canvas has about 19,200.
| Feature | Square drills | Round drills |
|---|---|---|
| Look | Crisp mosaic, no gaps | Small gaps, extra sparkle |
| Speed | Needs more precision | Quicker to place |
| Best for | Sharp detail and portraits | Beginners and fast projects |

Tools and gadgets
- The pen picks up one drill. A wax tip holds the drill until you press it down.
- A multi-placer picks up several. It saves time on big areas of one color.
- Wax needs refreshing. Re-dip the pen when it stops picking up drills.
- Craft putty can replace wax. Some crafters use it when the wax dries out.
- Tweezers fix mistakes. They lift a crooked drill without disturbing its neighbors.
- A light pad helps with symbols. A lit surface makes small printed symbols easier to read.
- A roller seats the drills. Roll gently over the finished painting, with paper on top, to press every drill down.
- Trays keep colors apart. The grooved trays in the kit make it easy to tip drills toward the pen.


Tips while you paint
- Uncover a small area at a time. Peel back only the film you will work on so the glue stays fresh.
- Tape the canvas flat. Masking tape on the edges stops it from curling.
- Flatten a rolled canvas first. Lay it under a heavy book for a couple of days if it arrives curled.
- Do not iron the canvas. Heat can melt the adhesive.
- Work by color. Fill one symbol at a time to keep your place and speed up.
- Work from the top. Placing rows from one side keeps your hand off finished drills.
- Press, do not slide. Sliding a drill smears the glue.
- Dry canvas loses stickiness. Exposed glue collects dust, so cover it when you stop.
- Bubbles can be popped. Prick a small air bubble with a pin and press the canvas down.
- Stretch your hands. Short breaks keep your hands, neck and back comfortable over long sessions.
Our guide to removing wrinkles and creases covers flattening in more detail.

Sealing and framing
- Sealing is optional. It locks the drills in place and is useful if you plan to hang the piece.
- Brush-on and spray sealers both work. Choose one made for crafts.
- Mod Podge is a popular choice. It dries clear and adds a protective layer.
- Avoid thick craft glue. It can dull the shine or yellow over time.
- Partial drill kits can be sealed too. Use a small brush and keep the sealer off bare canvas.
- Frames protect the surface. A frame keeps dust off and gives your painting a finished look.
- Glass is optional. It protects the drills, but some people prefer an open frame to keep the sparkle.
- Stretcher bars are another option. They give a gallery-wrap style without a frame.

See how to frame a diamond painting and how to seal and frame your diamond painting for step-by-step instructions.

Size, time and storage
- Time depends on size. A 30 x 40 cm canvas takes roughly 10 to 15 hours.
- Sizes vary widely. Canvases range from small coasters to large wall pieces.
- Large kits ship in a box. Anything over 30 x 40 cm ships in a box rather than rolled.
- Store drills by color. Small bags or a divided box stop colors from mixing.
- Keep finished paintings flat. If you must roll one, roll it with the drills facing outward.
- Leftover drills can be reused. Turn them into keychains, cards and decor; see our ideas for using extra diamonds.

Custom and special kits
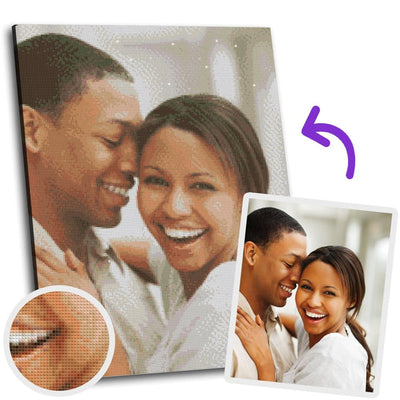
- You can make your own. A custom kit turns your photo into a painting, with a free design preview before printing.
- Photo quality matters. Clear, well-lit, high-resolution photos give the best result.
- Custom kits start at $20.95. They have 917 reviews averaging 4.9.
- LED diamond paintings glow. A light behind the canvas makes the drills shine; browse the LED collection.
- Special kits go beyond canvas. Keychains, bookmarks, coasters and lamps are all part of our special collection.
- The DMC chart is your color key. Learn how it works in our DMC chart guide.

Frequently asked questions
Is diamond painting hard?
No. You pick a drill with the pen and press it onto the sticky canvas, following the printed symbols. Beginners usually pick it up within minutes.
Do I need glue for diamond painting?
No. Our canvases already have poured glue under a clear film, so drills stick as soon as you press them down.
Should I seal my diamond painting?
Sealing is optional, but it keeps drills secure when you hang or move the piece. Use a craft sealer and apply it evenly.
How long does a diamond painting take?
A 30 x 40 cm canvas has about 19,200 drills and takes roughly 10 to 15 hours. Larger canvases take longer.
What is the difference between square and round drills?
Square drills sit flush for a crisp mosaic, while round drills are faster to place and sparkle more. Most designs come in both.
Are the tools included in the kit?
Yes. Each kit includes trays, tweezers, pens, a multi-placer, wax and instructions, so you can start right away.
Now that you know the essentials, choose a design you love and start your first canvas.
Buy 2 kits and save 10%, buy 3 and save 15%, applied at checkout.
Shop best sellers