Metallic diamond painting beads are for crafters whose finished pieces look nice but a little flat. This guide explains what metallic drills are, the shapes and finishes you will see, how to choose them for landscapes, portraits and florals, how to place them, and how to store them. It also shows how to get a similar boost of shine from the AB drills that come in every All Diamond Painting kit.
Every kit includes at least 2 colors of AB drills for extra sparkle, with free worldwide shipping.
Shop sparkling kitsWhat metallic beads are
Standard diamond painting drills are faceted resin or acrylic. Metallic beads are usually resin or acrylic with a thin metallic coating. The coating bounces light back with a sharper, more mirror-like glow, which is why some crafters call them the jewelry of diamond art.
Common finishes include gold, silver, copper, bronze and gunmetal. Gold adds warmth, silver gives a clean cool edge, and gunmetal works well for shadows and fine details. Because the coating can add weight, they need a strong, clean glue surface to stay put.

Where they work best
Think of metallic beads as highlights. A few in the right place lift a whole design.
- Borders and frames within a design.
- Jewelry, crowns and ornaments in portraits.
- Light sources such as candles, sunlight on water or city lights.
- Flower outlines and abstract textures.
- Gold detail in religious or decorative art.
Use them sparingly. If every area shines, nothing stands out.
Why crafters like them
- Visual impact. A crisp reflective surface draws the eye to the exact spot you want to highlight.
- Texture contrast. Mixing metallic and resin drills creates a layered surface that looks more dynamic than a flat field of one finish.
- Brighter highlights. Light bounces off the coating, which gives water, glass, jewelry and fabric more dimension.
- Creative freedom. Use a few for subtle depth or a lot for a bold, standout piece.
- Versatile themes. They suit modern abstract patterns, classic portraits and decorative art alike.
A good rule is to decide the focal point first. Put the brightest finish there, use matte or standard drills around it, and let the contrast do the work. If you are unsure, test a handful of beads on a spare patch of glue and look at them under the lamp you will use. Shine changes a lot between daylight and warm indoor light.
Types of metallic beads
| Type | What it looks like | Best for |
|---|---|---|
| Round | Softer, more fluid texture and quicker to place | Beginners and organic shapes |
| Square | Snug grid with crisp edges | Geometric and architectural designs |
| Polished finish | Bright, highly reflective | Focal points |
| Matte or brushed finish | Subtle shimmer that scatters light | Backgrounds and shading |
| AB or holographic coating | Shifts color with the angle | Flowers, skies and celestial scenes |
Round beads are easier to apply, and square beads deliver crisp lines. Mixed packs let you test both before committing to a big project.
How to choose for your project
- Landscapes: use metallics in accents like sunlight on water, rock edges or distant lights.
- Portraits: keep them to jewelry, hair ornaments and fabric details so skin tones stay natural.
- Florals: a metallic outline around resin petals adds depth.
- Size and contrast: smaller beads define detail but take longer, while bright metallics next to darker drills make the shine stand out.
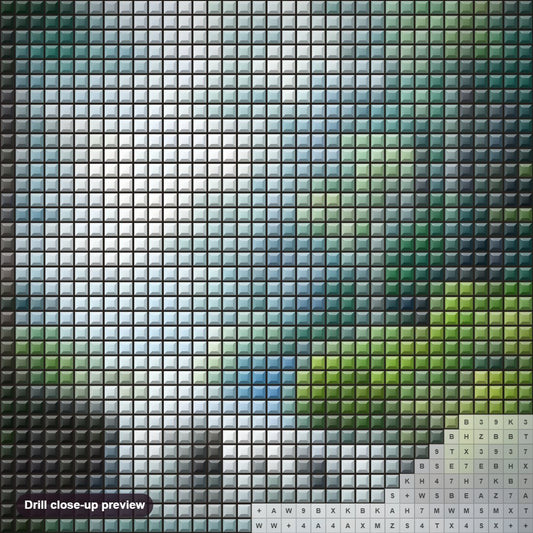
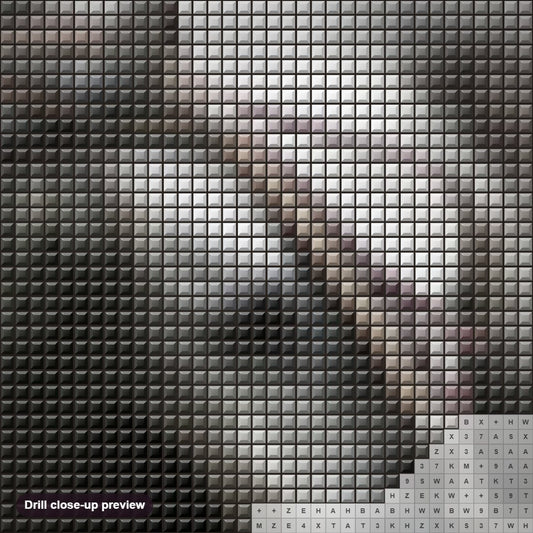
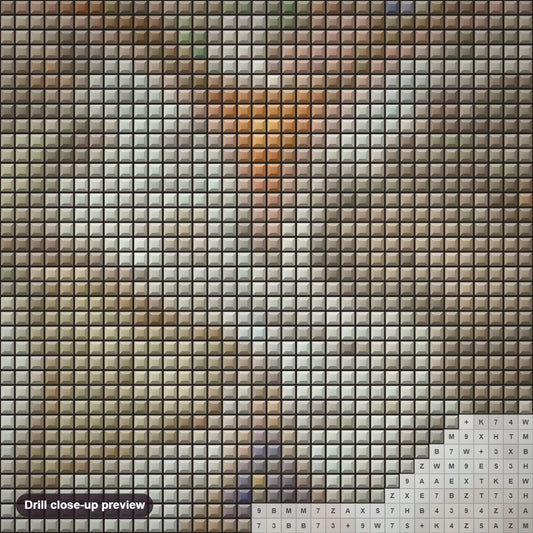
If you are new to them, start with a small mixed pack and a design that has a clear focal point. Designs with gold tones are a natural fit, and these are popular:


Pairing metallics with the rest of your palette
Metallic shades read differently next to different colors. Gold glows against deep blues, greens and reds. Silver looks crisp against black, navy and cool grays. Copper and bronze feel natural beside browns and earthy oranges. Gunmetal is best used for fine shadow lines, where a bright finish would look harsh.
It also helps to think about quantity. As a rough guide, one or two metallic shades in a design are enough. More than that and the piece can feel busy, because the eye has no calm area to rest on. If your kit already has strong AB drills in the same area, you may not need metallics there at all, since the AB shift already adds movement.
Finally, remember the finish when you frame. Glass adds its own reflection on top of the bead reflection, which can create glare. An open frame with a soft side light keeps the metallic shine visible from several angles.
Placement techniques
- Check the glue first. Heavier beads need a clean, tacky surface. Our canvases use poured glue under a clear film, and keeping the film on until you reach each section protects it.
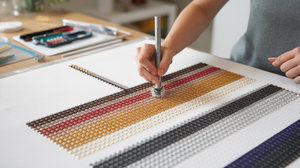
- Press gently. Too much pressure pushes glue out and can tilt the bead. Use steady, light pressure with a good pen.
- Plan the metallic areas. Mark which sections get metallic beads before you start so the design keeps its balance.
- Seal at the end. A thin coat of clear, non-yellowing sealer locks the beads in place without dulling the shine. See how to seal and frame.
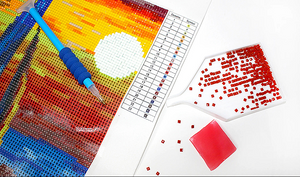
A pen with a good grip makes the biggest difference. This applicator pen works for square and round drills.
Common problems and fixes
- Dull or tarnished look. Keep beads dry and sealed, and avoid touching them with oily fingers.
- Uneven shine. Buy enough from one batch to finish a section.
- Beads slipping. Check the glue and, if needed, add a thin layer of craft adhesive in small trouble spots.
- Static cling. Put a piece of dryer sheet in the box. Read more in our static cling guide.
- Crooked placement. Shiny beads show misalignment more, so line up straight edges carefully. A scraper tool helps nudge a drill straight.
Storing your beads
Good storage keeps the coating bright and saves you time at the start of each session.
- Use a compartment box so beads do not rub against each other.
- Keep them in a cool, dry place with tight lids. A silica gel packet absorbs moisture.
- Label each color and batch.
- Use a small scoop or clean, dry hands instead of pinching beads.

Get more shine from your kit
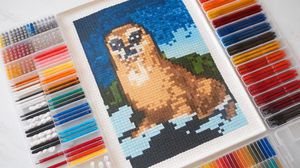
You do not need to buy extra beads to get sparkle. Every kit has 5D full drills made of resin, about 2.5 mm, and at least 2 colors of AB (iridescent) drills that shift color as the light moves.
- Choose round drills for extra sparkle, or square for a smooth mosaic look.
- Pick light-heavy designs such as water, sunrises, jewelry and florals.
- Frame without glass and add a soft spotlight, as covered in our framing guide.
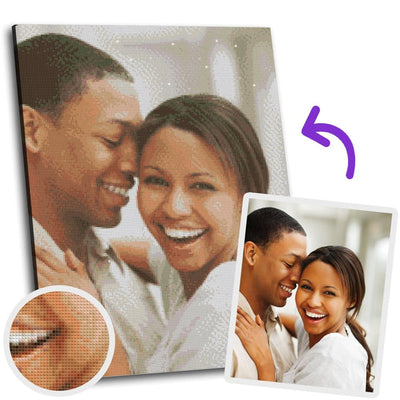
If you want a one-of-a-kind piece, the custom diamond painting kit turns your photo into a kit, with a free design preview before printing.
Frequently asked questions
What are metallic diamond painting beads?
They are diamond painting drills with a thin metallic coating over a resin or acrylic core. The coating reflects light more sharply than standard drills.
Are metallic beads harder to use?
Slightly. They can be heavier, so they need a clean, tacky glue surface and gentle pressure. The technique is otherwise the same.
Can I mix metallic and regular drills?
Yes, and it usually looks best. Use metallics as highlights and standard drills for the main color areas.
How do I stop metallic beads losing their shine?
Store them dry in sealed containers, handle them with clean hands and seal the finished piece with a thin, non-yellowing coat.
Do your kits have sparkly drills?
Yes. Every kit includes at least 2 colors of AB drills, and most designs come in square or round.
Add sparkle to your next project
Pick a design with plenty of light and shine, and give it the finish it deserves.
Free worldwide shipping with tracking. Buy 2 kits and save 10%, buy 3 and save 15%.
Browse all kits